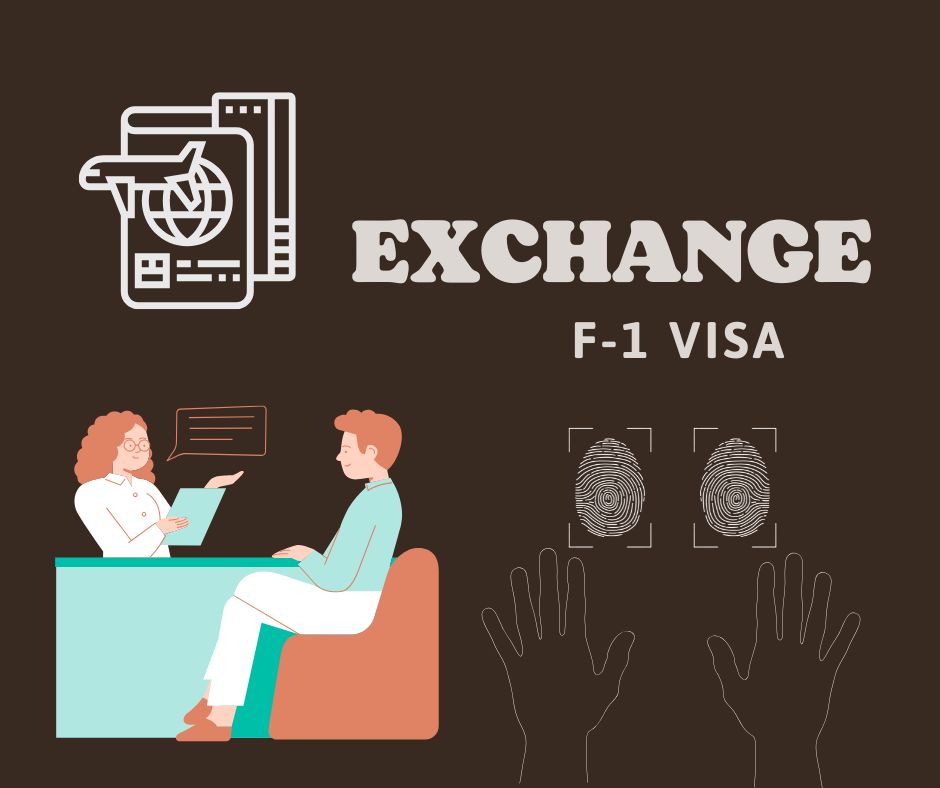
# F-1 Visa Application Process for Students 🇺🇸 ## 1. 確定資格 - 確保您符合F-1簽證的資格要求。 - 必須被美國的學校錄取並獲得I-20表格。 ## 2. 填寫DS-160表格 - 在線填寫非移民簽證申請表DS-160。 - 提交後,打印確認頁以備後用。 ## 3. 支付簽證申請費 - 根據指示支付簽證申請費用。 - 保存付款收據。 ## 4. 預約面試 - 在美國駐外使領館網站上預約簽證面試。 - 準備好所需的文件。 ## 5. 準備面試文件 - I-20表格 - DS-160確認頁 - 簽證申請費收據 - 護照 - 財務證明文件 - 學校錄取通知書 ## 6. 參加面試 - 按預約時間到達使領館。 - 穿著得體,保持冷靜。 ## 7. 等待簽證處理 - 面試後,等待簽證的處理結果。 - 確認簽證的發放和取件方式。 ## 8. 準備入境 - 確保攜帶所有必要文件以便入境美國。 - 了解入境程序和要求。
Average grades can still lead you to bravely embark on an exchange journey. This is my experience and insights to share.
1. Process Overview
Without further ado, let’s get to the images!!
Obtain Certificate of Eligibility
I-20 / DS-2019
Pay SEVIS I-901 Fee
USD 350
Complete DS-160
Online form, pay attention to the document number
Pay MRV Fee
USD 185
Visa Interview
Bring all documents and attend the interview at the scheduled time
Visa Issuance
Collect your visa
2. Detailed Steps
The steps are listed in order below on the school’s page, along with sub-explanations and notes:
-
Obtain Certificate of Eligibility (Certificate of Eligibility / I-20 / DS-2019)
- You will receive the visa application documents from the International Office of the University of Hawaii during the first week of the previous semester (114-1). The letter will include reference materials to guide you on how to apply for an F-1 visa.
-
Pay SEVIS I-901 Fee
- The amount is USD 350
- Payment can be made by credit card, which is foreigner-friendly, although the amount is not very friendly.
-
Complete DS-160 / DS-xxxx (Visa Application Form)
- Filling method: online, and you can fill it out in parts. Remember to note the document number in the upper right corner of the form.
- Common mistakes (I didn’t check this, I just filled it out as I understood it, hoping there wouldn’t be any issues)
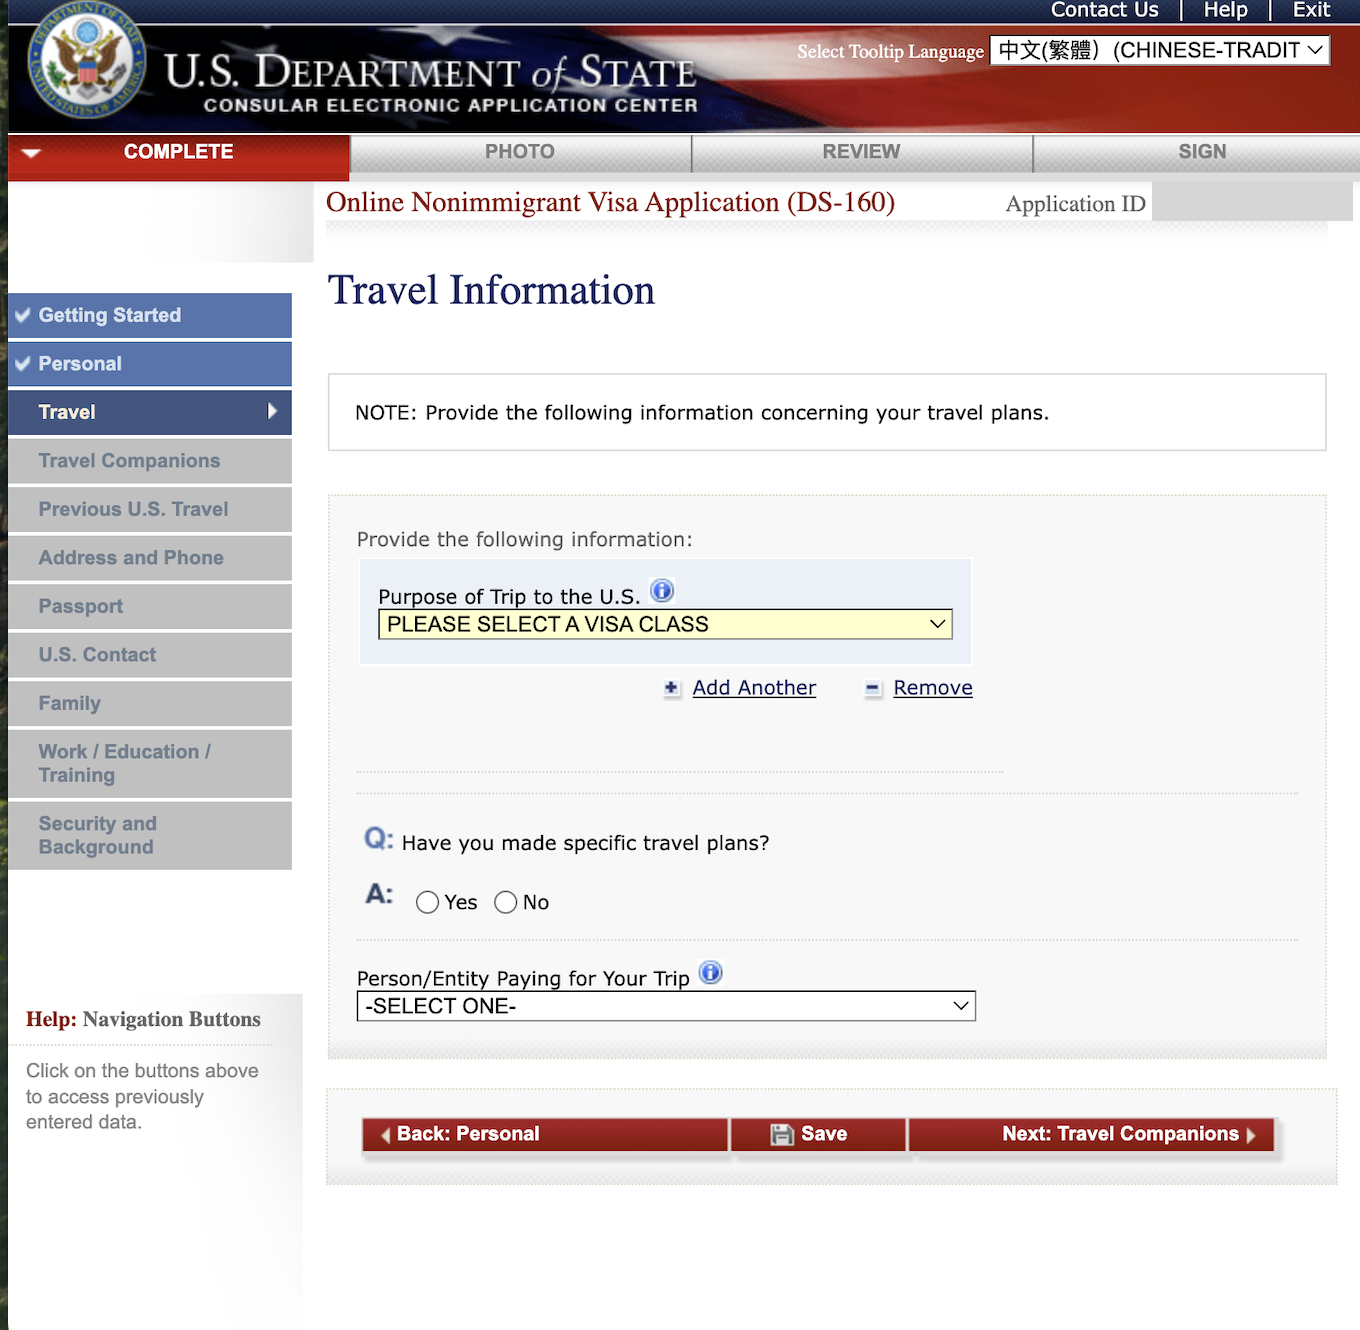 ▲ The filling page, the code in the upper right corner is the document number, which needs to be remembered.
4. 🎯 Visa Interview and Other Submitted Materials
First, register for a U.S. Department of State Visa Application Account,
and ensure that all information is filled out correctly.
Next, prepare the list of documents needed for the interview👇
- 📘 Passport
- 📄 I-20 Form
- 🧾 DS-160 Confirmation Page
- 📅 Appointment Confirmation Page
- 🖼️ One photo (meeting the specified size)
- 💰 Visa application fee receipt
- 💳 SEVIS fee receipt
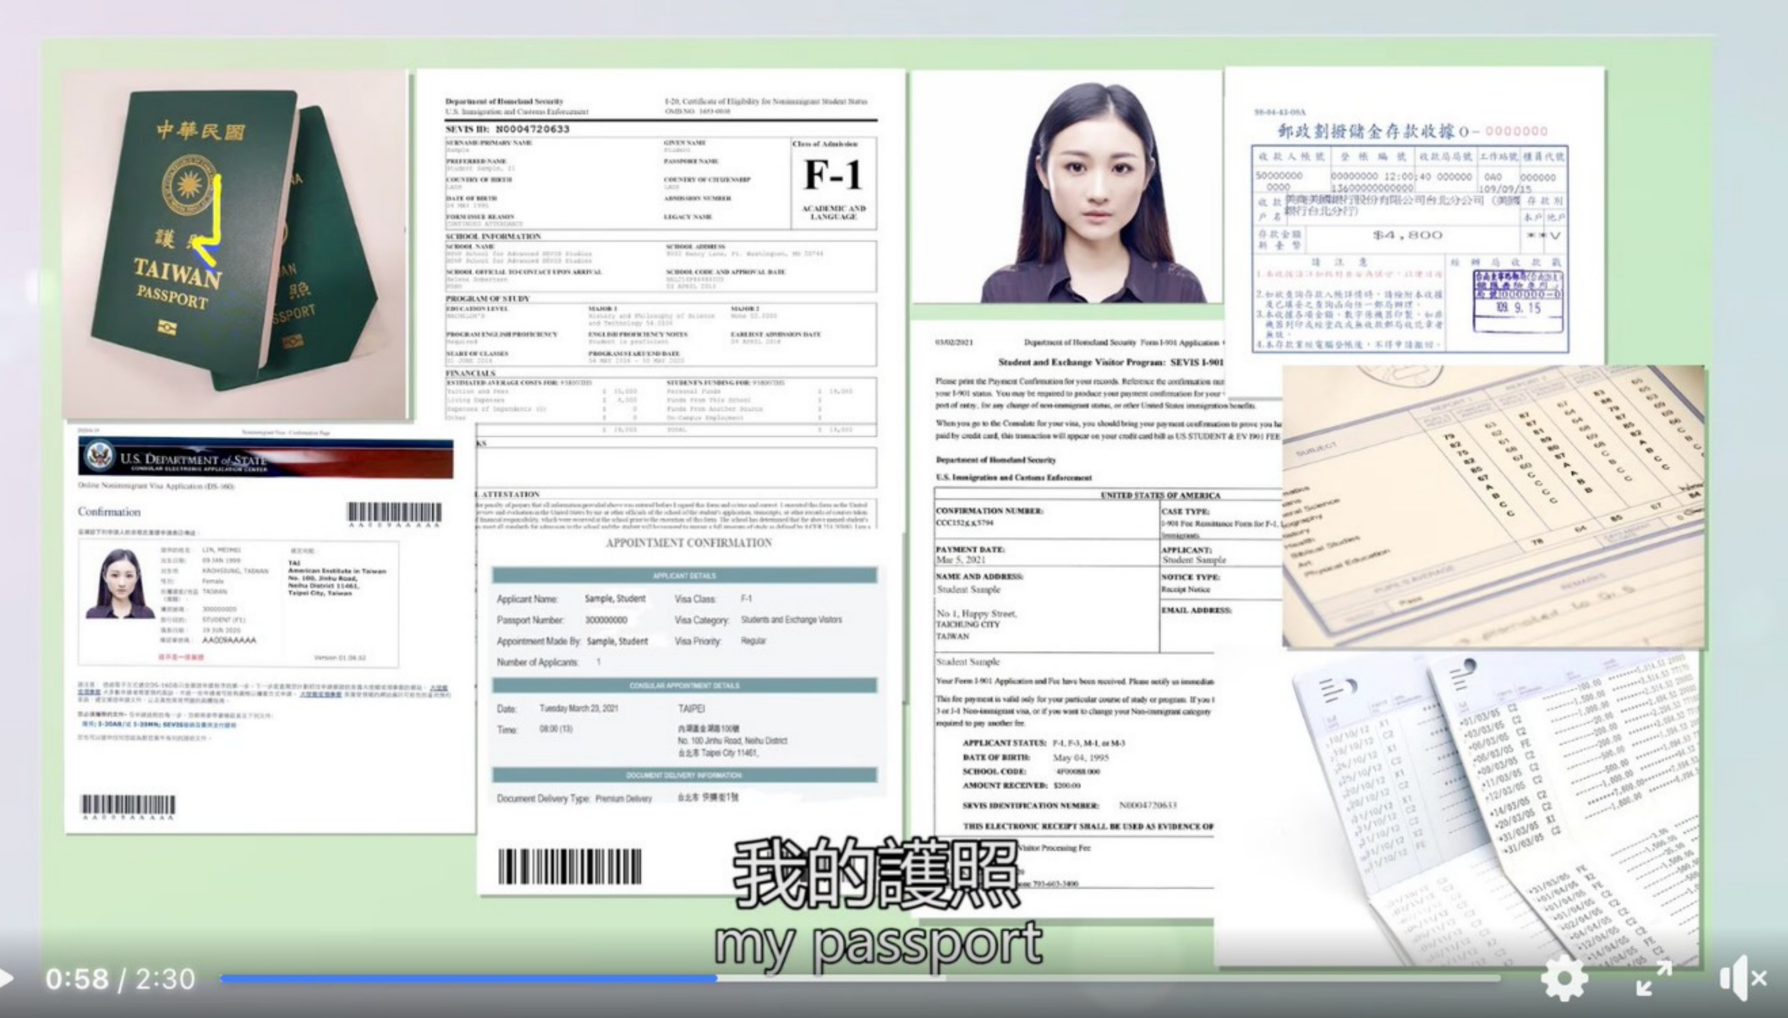
🎥 To understand the process, you can refer to this official video:
👉 AIT Visa Instruction Video
- Visa Issuance and Entry Preparation
- Visa collection method: I chose to pick it up for free at the Neihu Sorting Center, but you can also pay to have it mailed to you.
- According to the video above, I thought I could know immediately if the visa could be approved, which was quite funny; I still don’t quite understand the purpose of the video.
3. Frequently Asked Questions and Notes
-
Regarding all fees to be paid, there is a visa reciprocity fee on the AIT official website, which seems to be an additional charge that may be incurred after obtaining the visa, but Taiwan should not need to pay it.
- SEVIS I-901: USD 350
- Visa fee MRV: USD 185
-
Duration of data preparation and review: It took me about three days to prepare my data, but actually, I could fill out the DS-160 form in three hours. After filling it out, I could use the confirmation number to connect my account on the Department of State’s visa application page.
-
If the visa is denied, the handling method for supplementary documents: Currently, it seems that the problem can be solved with money, meaning you can create a new account and pay the visa application fee again.
4. Interview Experience
When I arrived for the interview, I found it completely different from what I saw in the video. It wasn’t as easy as just walking in; there were people checking passports at the entrance. I had completely not thought about needing to bring identification, and I found out that phones were not allowed inside, and there were phone storage lockers like in middle school.
There were a lot of security guards, and for some reason, I suddenly thought of the “security guard” joke from Han Kuo-yu. However, there was a photo booth downstairs, so if there was a last-minute issue with the photo, it shouldn’t be too worrying.
One thing to note is that when storing your phone, you were originally supposed to leave an ID as a deposit, but if you didn’t bring one, you could sign instead. I was a bit stunned at that moment, thinking, “Huh? This part was not mentioned at all in the video!”
After entering the visa processing window, the first thing was to hand over the passport and I-20. Then, at the first counter, I just needed to submit these documents. For the fingerprinting part, I only needed to provide the passport, and during the final interview, I pushed all the documents in front of them.
Since I was an exchange student, I wasn’t asked too many questions. They only asked about my major, school, program name, and how long I would be there, and then said they would review my social media, and that was it.
Additionally, if you have changed your name, it is advisable to bring a household registration certificate, as I was asked related questions, but I didn’t bring it and hope it won’t affect the result (?)
I didn’t expect the passport to be kept for so long; I almost thought I could immediately book a flight to Japan. AIT is really far, but fortunately, the air conditioning inside is very cool and comfortable. Overall, I felt a bit deceived by the video—the on-site process and atmosphere were quite different, which was a bit shocking.
Finally Updated! Finally got the visa~ Congratulations 🎉
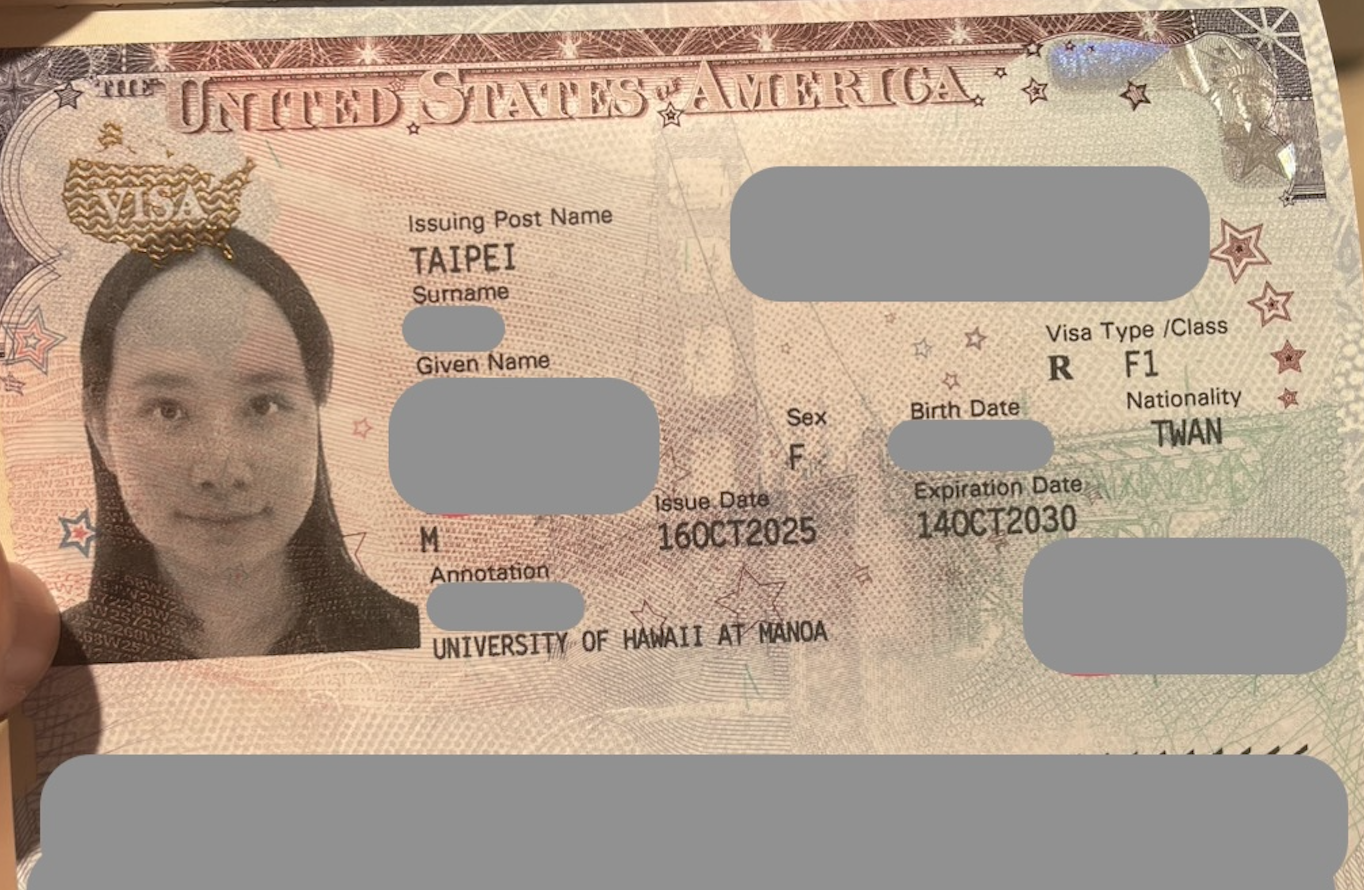
🧭 Further Reading
⬅️ Previous Post: What to pay attention to when handling a series of procedures?
➡️ Next Post: 🌺 After getting the visa, other enrollment procedures